Corporate Logo

Recent Posts

  • 3D Pumpkin Sculptures – Halloween 2017
  • DIY: How to make your own Smartphone Tripod Mount (iPhone or Android)
  • DIY: How to make your own Smartphone Stand (Samsung Galaxy Note 3) – It’s as easy as 1-2-3
  • DIY Tutorial – How to modify and use an Egg Timer for Time-Lapse Videos and Panoramic Photographs
  • DIY Tutorial: How to make a Mini Digital Boombox (sans speakers) for cheap – using a Lepai Amplifier & a Behringer DAC

Categories

  • About Us (1)
  • Audio (3)
  • Fun Stuff (3)
  • Photography (2)

About Me:


I’m an IT Consultant, specializing in:

  • Business Analysis,
  • Business Systems Analysis,
  • Business Intelligence Analysis,
  • Enterprise Reporting & Automation,
  • Business Process Improvement,
  • Microsoft Office Training & Automation,
  • Sage ACT! (CRM) Implmentation & Training,
  • CMS-Based Web Development,
  • Android Automation

You could also say that I’m an Audiophile, with a special interest in tweaking and collecting Vintage Audio. I also enjoy building things myself.

Some of my other interests are:

  • Photography
  • Technology (Linux, Android etc.)
Recent Technology Posts:

No posts found.

Recent Photography Posts:

DIY: How to make your own Smartphone Tripod Mount (iPhone or Android)

DIY Tutorial – How to modify and use an Egg Timer for Time-Lapse Videos and Panoramic Photographs

Recent Audio Posts:

DIY Tutorial: How to make a Mini Digital Boombox (sans speakers) for cheap – using a Lepai Amplifier & a Behringer DAC

Tutorial: How to setup an Awesome-Sounding, More-Portable, Open Boombox using a Raspberry Pi and Squeezeplug (v2)

Tutorial: How to setup an Awesome-Sounding, Semi-Portable, Open Boombox using a Raspberry Pi and Squeezeplug (v1)

Some Fun Stuff :-)

3D Pumpkin Sculptures – Halloween 2017

DIY: How to make your own Smartphone Stand (Samsung Galaxy Note 3) – It’s as easy as 1-2-3

Stress Busters – 80’s Retro Games

  • Home
  • Prices and Order Information
  • Photo Gallery
  • Products
    • Line 2CRM Line Preamplifier
    • Phono 3C Phono Preamplifier
    • Super Stealth+ Monobloc Power Amplifier
  • Reviews
  • Contact
  • User Manuals
  • Customer Feedback

DIY Tutorial – How to modify and use an Egg Timer for Time-Lapse Videos and Panoramic Photographs

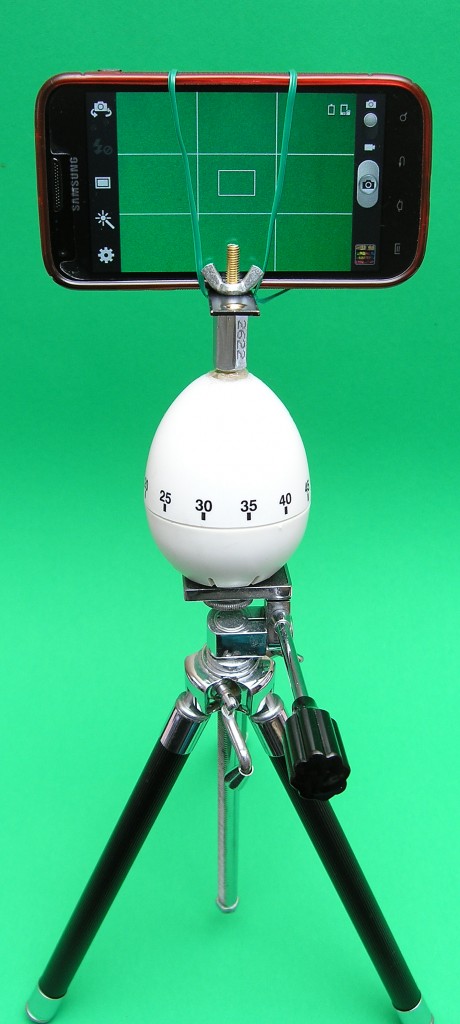
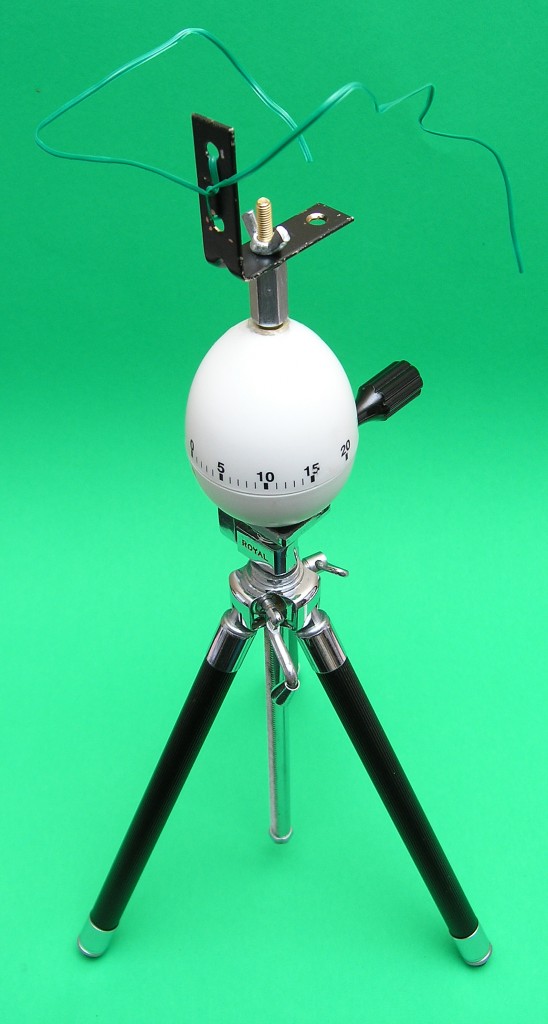
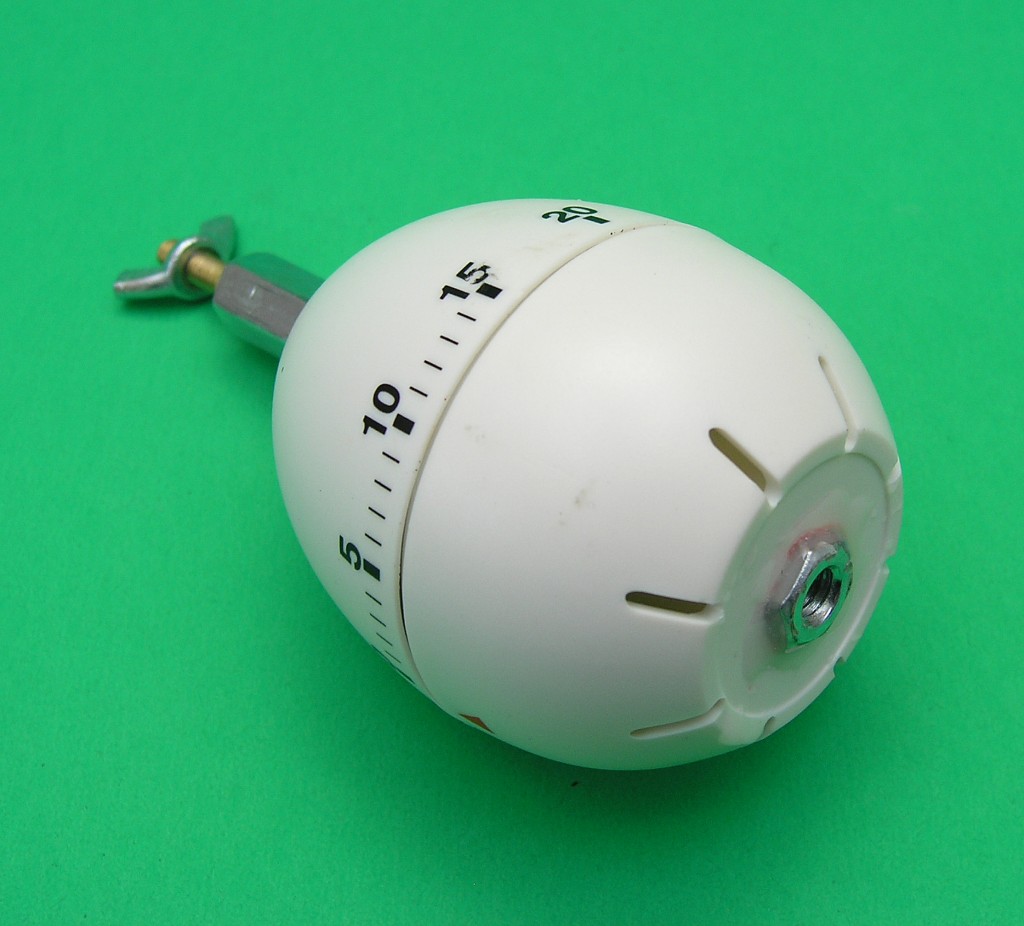
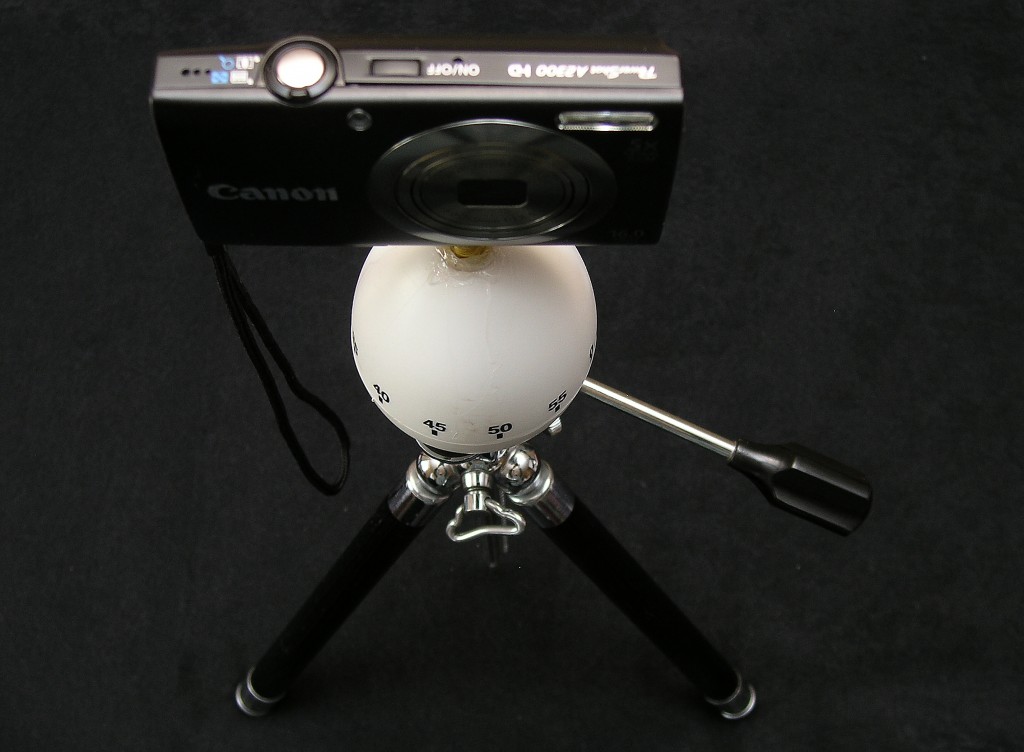
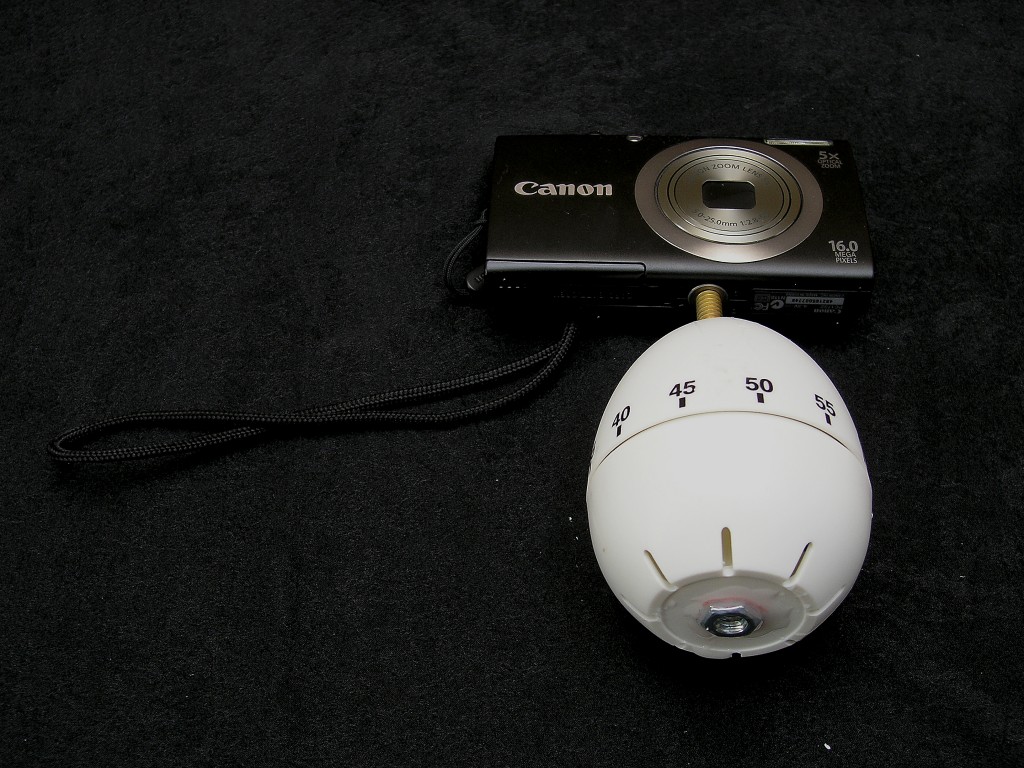
The first five pictures below show you what you can expect to achieve, on completion of this how-to:

This is how the modified egg-timer looks with only a camera mounted on the top tripod-mount screw.

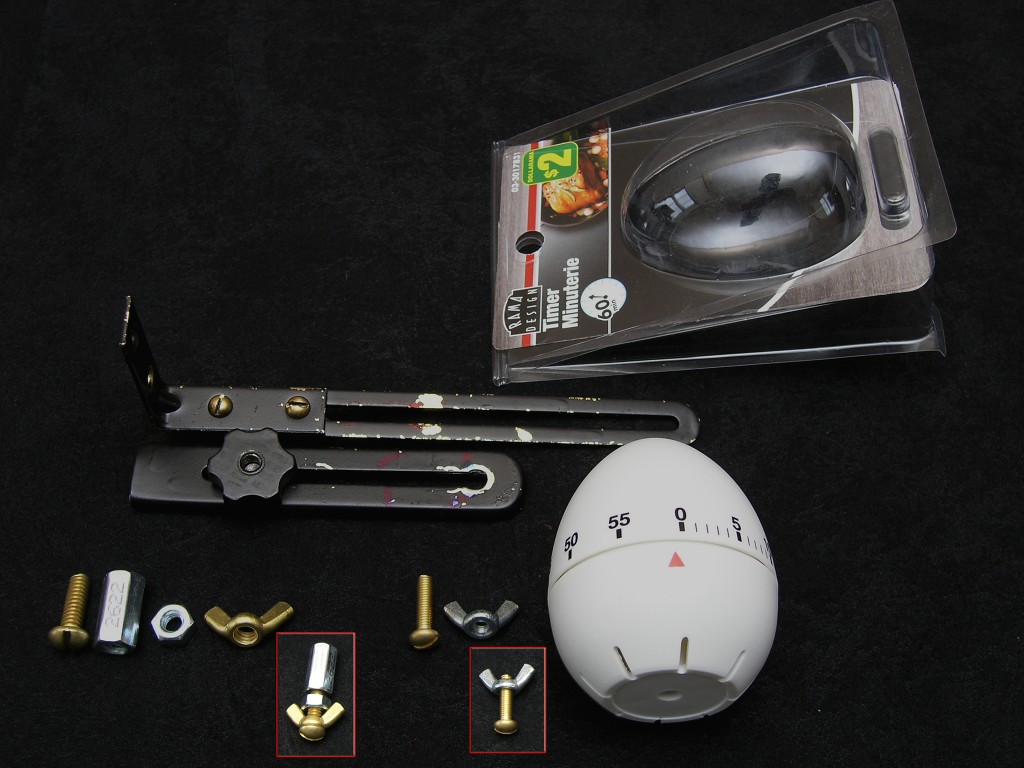
Parts List #1 (with picture below):

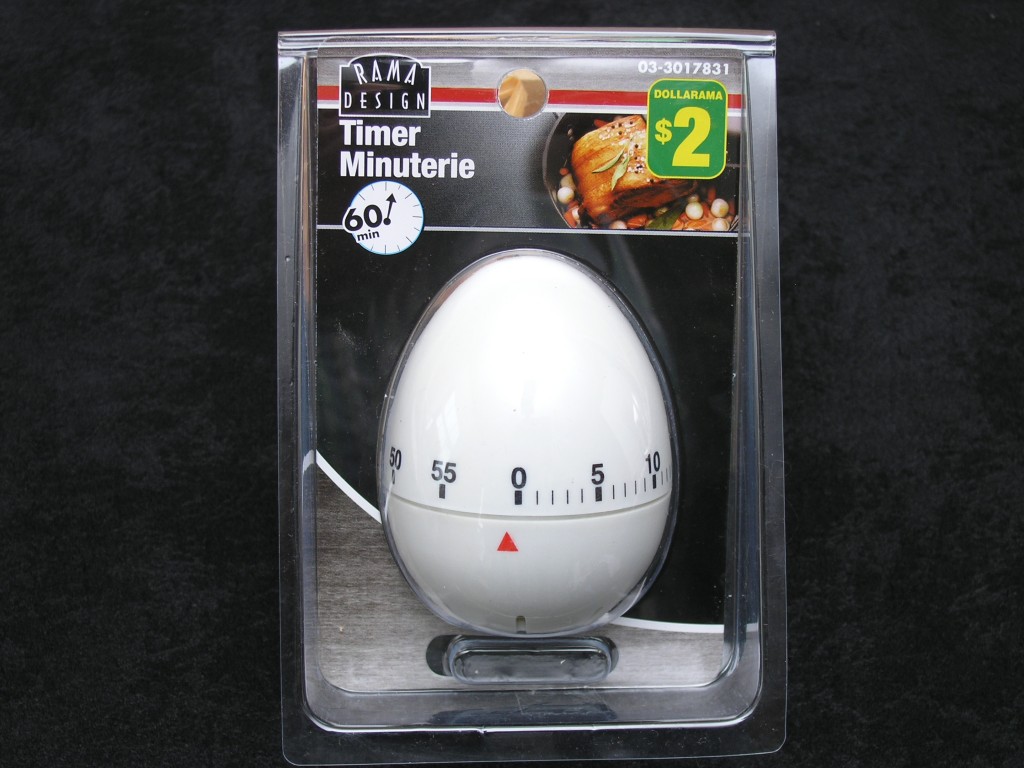
First things first: You’ll need an Egg-Timer – duh! The one I went with is available at Dollarama (if you live in Canada) for just $2, and you get them in different shapes as well, such as apple, lemon, pear, hen, and probably one or two others which I do not remember now. I selected the egg-shaped one due to the fact that it’s the easiest one to work with i.e. for drilling holes in the top and bottom.

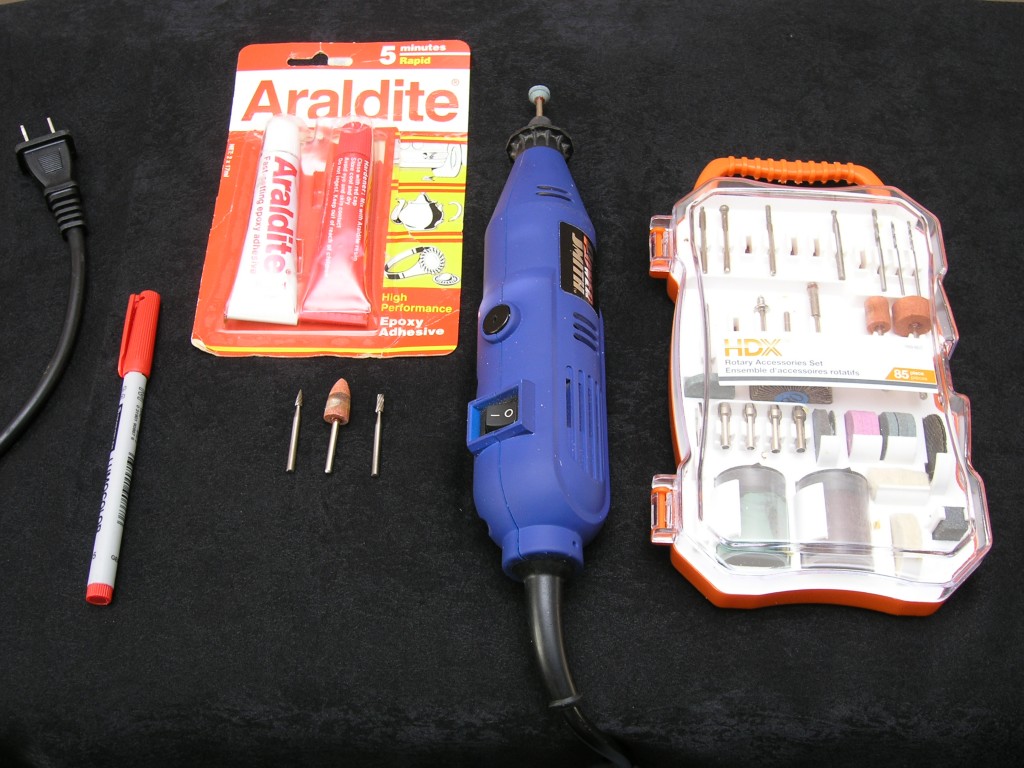
Parts List #2 (with picture below):

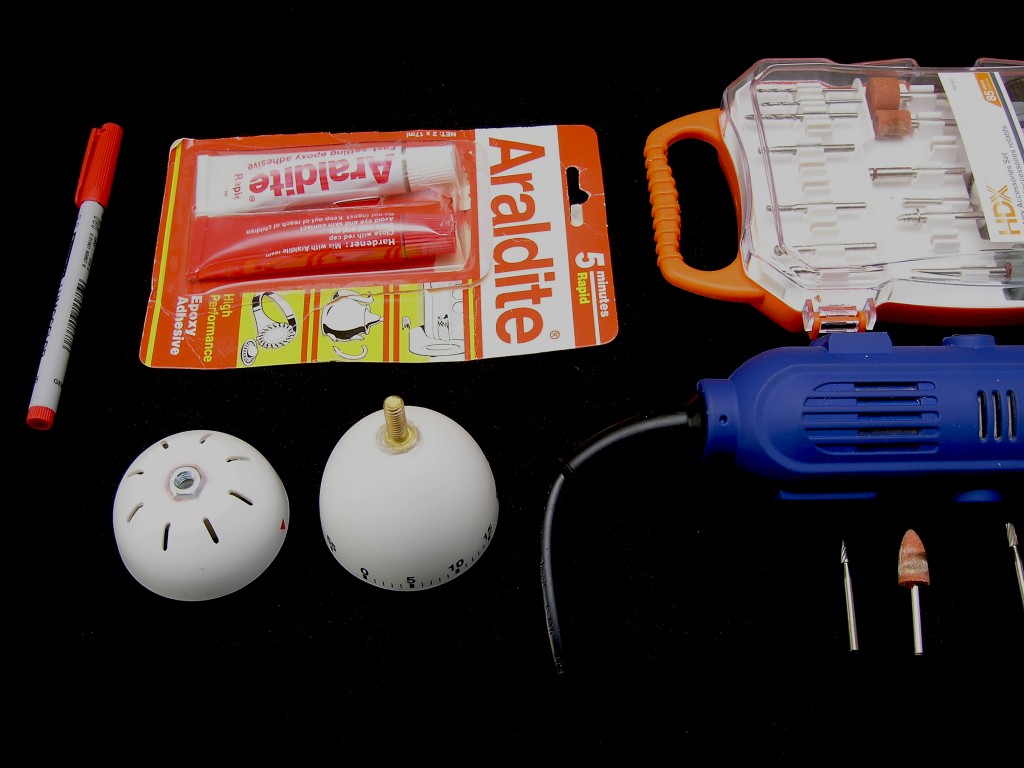
You’ll also need the following items (also shown in next picture below):

  • Dremel/Rotary tool
  • Apropriate bits for the rotary tool. I used 4 of them, as shown in the picture
  • Araldited, or similar bonding epoxy/glue
  • Marker

Parts List #3 (with picture below):

And finally, you’ll also need the following nuts and bolts:

  • 1 nos. quarter inch bolt with a thread size (and type) that matches the tripod mount of a camera
  • 1 nos. long, cylindrical nut of the matching thread size (and type) as the bolt above
  • 1 nos. regular nut of the matching thread size (and type) as the bolt above
  • 1 nos. wing-nut of the matching thread size (and type) as the bolt above
  • 1 nos. quarter inch bolt of a narrower width (should easily fit into [and slide along] the slit of the optional black thing-a-ma-jigs
  • Optional thing-a-ma-jigs (required only if you want to use this contraption with a smartphone as well):

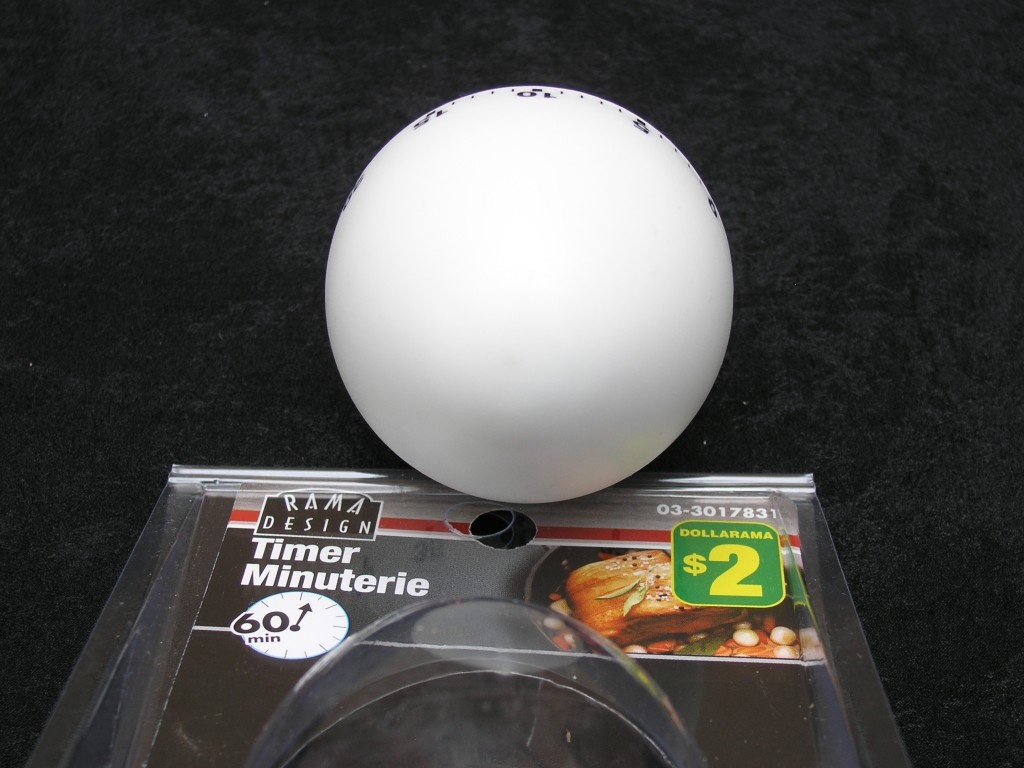
The picture below shows you the top of the egg-timer, which is where you will be making a mark (using your permanent marker) to drill out a hole large enough to accommodate the tripod-mount screw head. In order to drill the hole, I started out with the needle-point drill bit (metal), and then moved on to the grinding-stone bit. I ended up (enlarging the hole) with the cylindrical-shaped metal bit.

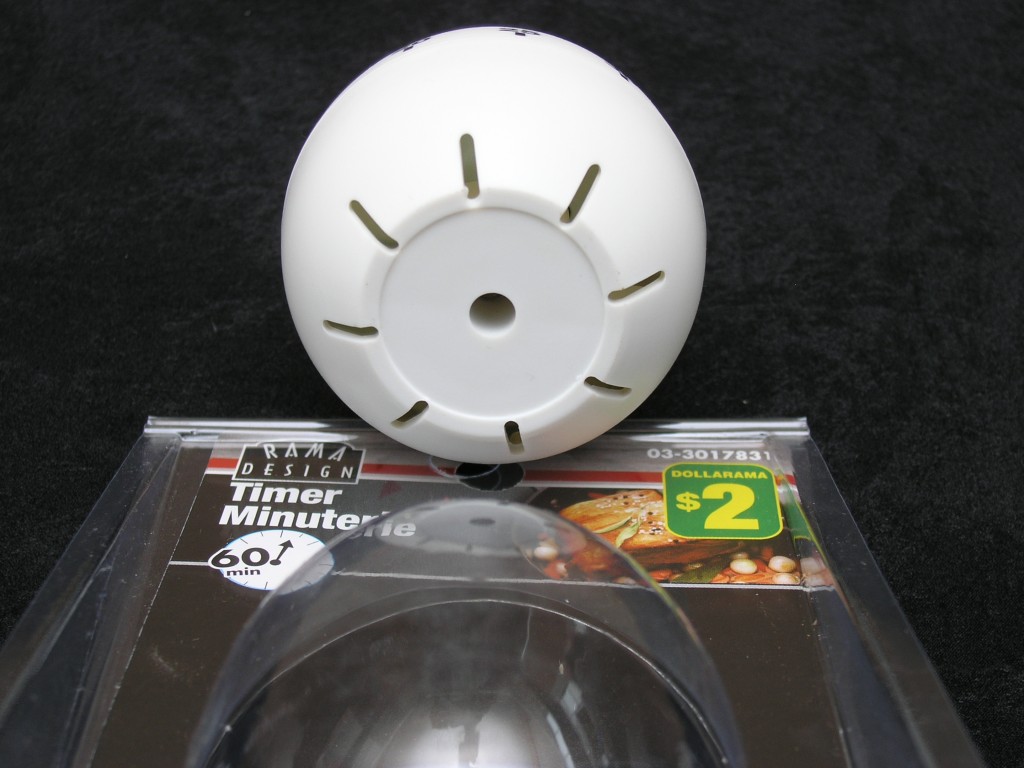
If you look towards the bottom of the egg-timer (as shown in the picture below) you will notice an existing hole (which houses a screw that holds the two halves of the egg-timer together).

The idea now is to widen (and shape) the bottom hole so that it will accommodate the tripod-mount bolt (as shown below). To achieve this, I started out with the grinding-stone bit, and then moved on to the cylinder-shaped metal bit to further enlarge and shape the hole.

Once the top and bottom holes are shaped and enlarged enough to accommodate the bolt and nut respectively, you may proceed to prepare your epoxy (if using Araldite, or something similar) by mixing equal parts of the two compounds. Apply the well-mixed epoxy to both surfaces and hold tightly in place for a minute or so. Ensure that the nut and bolt are as placed as straight and level as possible, before the glue starts to harden and dry. Resist the temptation and wait at least 24 hours before trying to use the timer for its intended purpose.

Once dry, you should be able to a) mount a small camera on the mounting-screw, and b) mount the timer on a tripod (as shown in the next two pictures below).

Here’s an example of a panoramic picture that I clicked using my Samsung Galaxy S II X mounted on this egg-timer:

Have you attempted this project yourself?

If yes, please share your experiences/comments/suggestions.

This entry was posted on Saturday, November 30th, 2013 at 6:03 am by cyrilrose and is filed under Photography. You can follow any responses to this entry through the RSS 2.0 feed. You can leave a response, or trackback from your own site.

Leave a Reply Cancel reply

Your email address will not be published. Required fields are marked *

« Previous Post

Next Post »

May 2025
M T W T F S S
 1234
567891011
12131415161718
19202122232425
262728293031  
« Nov    

Pages

  • Prices and Order Information
  • Photo Gallery
  • Products
    • Line 2CRM Line Preamplifier
    • Phono 3C Phono Preamplifier
    • Super Stealth+ Monobloc Power Amplifier
  • Reviews
  • Contact

Archives

  • Home
  • Prices and Order Information
  • Photo Gallery
  • Products
  • Reviews
  • Contact
  • User Manuals
  • Customer Feedback
Phone Icon

905-903-4565

e-Mail Icon
info@SynergyIntegration.com

Copyright © 2025 Synergy Integration. All rights reserved.

Website developed by Synergy Web Developers (a division of Synergy Integration)